MLEM + Modal + nanoGPT
If you hadn't heard all the recent fuss about the ChatGPT model from open.ai, you must have been living under a rock. And you might even have seen this video from Andrej Karpathy on how those GPT models work. In this post, I will show how easy it is to train your own GPT model and also share it with your friends via a nice Streamlit app in the cloud (see this one as an example!). All you need is an idea of what you want to generate and a couple of bucks for renting a GPU if you don’t have access to your own.

Writing dogs with nanoGPT
Preparing data
To kick off the process, you basically just need a single text file that you
want your model to be trained on. For example, I often struggle with writing
docs for MLEM framework, so I will try to generate those.
Here
you can find my code that clones
mlem.ai repo, compiles every .md from
the docs directory into a single text file and then creates a train set using
the same code as an example Shakespeare dataset. I also prepended each file’s
content with the path to this file, so I can condition the generation for a
specific file.
Of course, for your own experiments, you can provide different data and train GPT model for a different task.
Training the model
Thanks to Andrej’s original repo, it’s as easy as cloning and running a couple of commands. My fork has some additional stuff to make it even easier.
$ git clone https://github.com/mike0sv/nanoGPT && cd nanoGPT/ && git checkout -b mlem origin/mlem
$ pip install -r requirements-mlem.txt

# Prepare mlem docs dataset
# Alternatively, you can compile your own training data for different task
$ python data/mlem-docs/prepare.py char
If you don’t have access to GPU, you can use modal.com to train your model without any infrastructure configuration. Just register there, wait for approval, and run this script to run the training and download the resulting model checkpoint.
$ modal token new  # approve in browser
$ python modal_train.py  # you can edit paths or other parameters
Or if you are already working on a machine with GPU, just run the training locally
# train model
$ python train.py config/train_mlemai.py --device cuda --dtype=float32 --max_iters=3000 --init_from=scratch
After training you model will be saved at out-mlemai-char/ckpt.pt and you can
sample it with
# sample model
$ python sample.py --out_dir=out-mlemai-char --dtype=float32
Deploying your model
Now, to show off your model to friends and colleagues, we will deploy it as a Streamlit application to https://fly.io. It’s very easy with MLEM Streamlit extension. First, we need to save the model as MLEM model - here is the script for that
$ python wrapper.py out-mlemai-char mlem_charNow, setup and login into fly.io
and run mlem deploy command. I also prepared a
custom Streamlit application template
you can use to give it more ChatGPT feel
# setup flyio
$ flyctl auth login

$ mlem deploy run flyio app -m mlem_char \
	--app_name mlem-nanogpt --scale_memory 1024 \
	--server streamlit  --server.ui_port 8080 \
	--server.server_port 8081 --server.template app.py
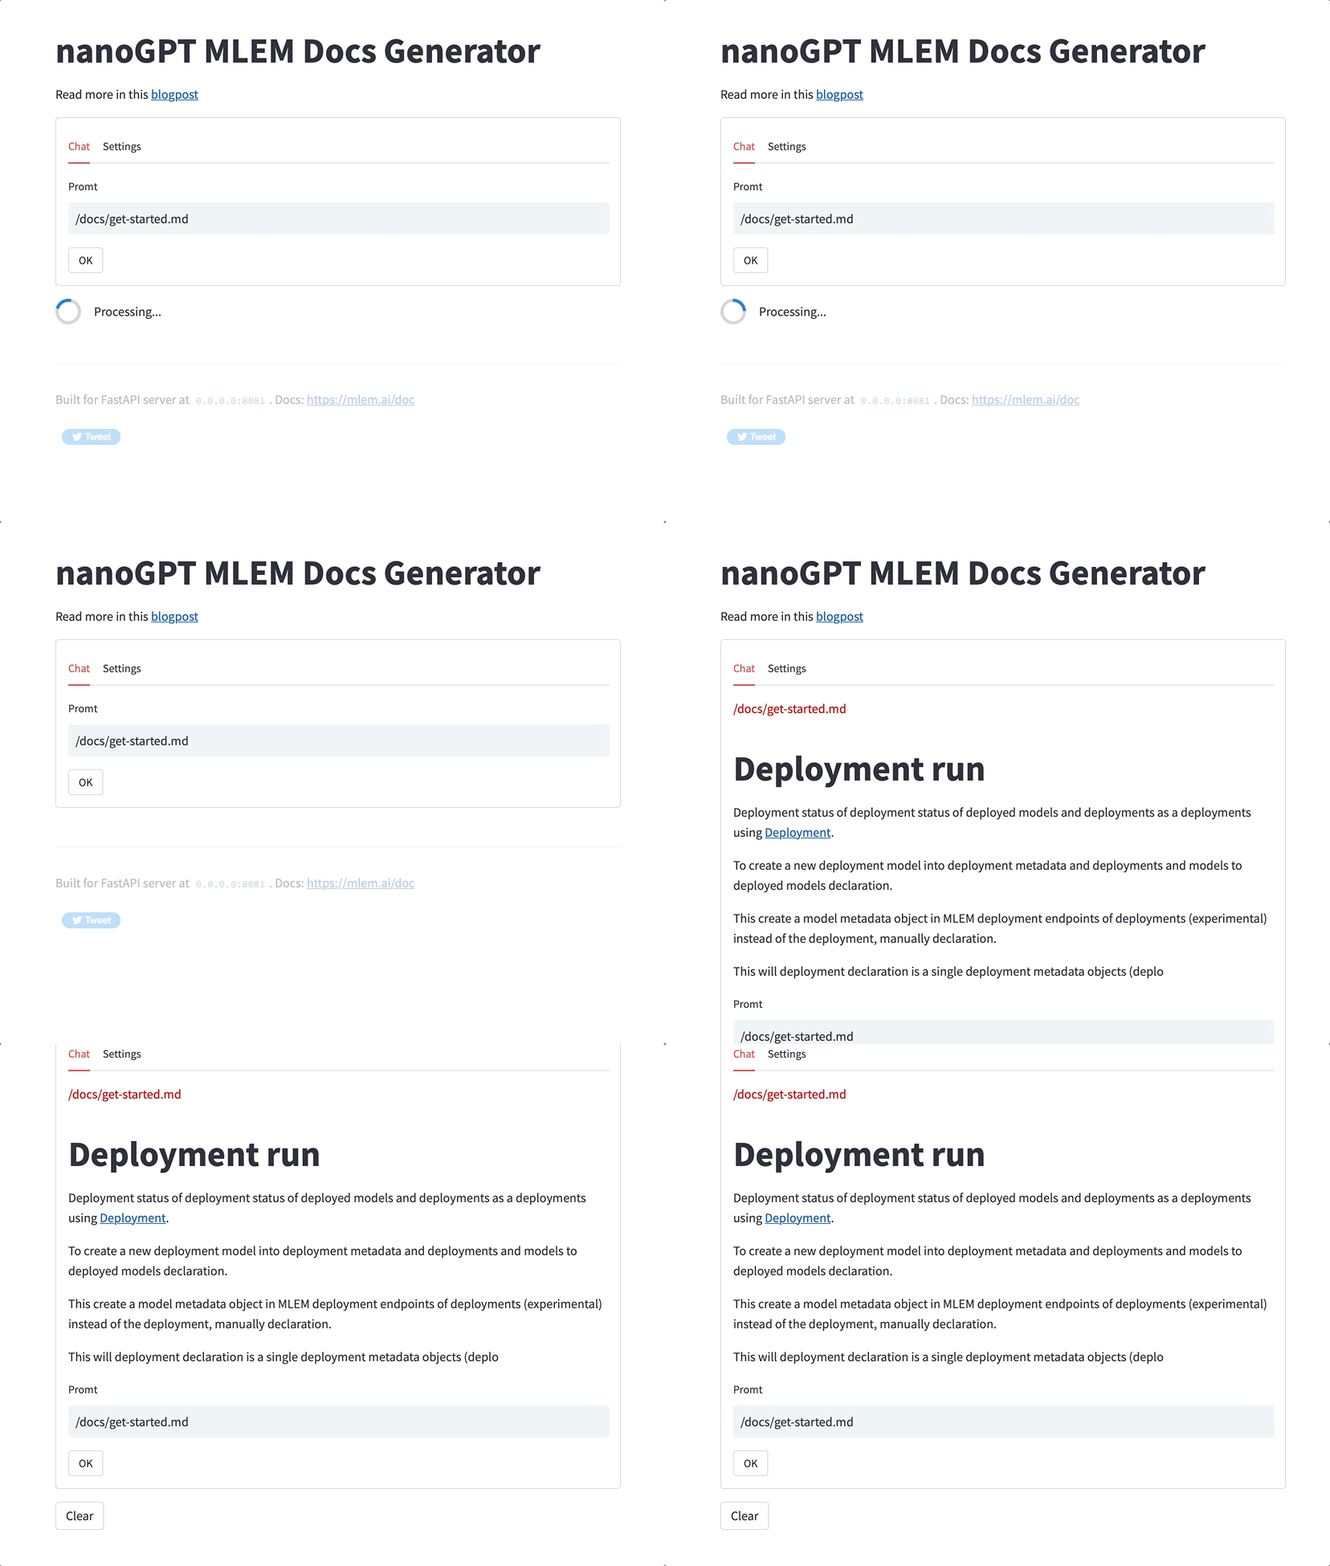
After the command finishes, just go to https://<app_name>.fly.dev - in my case its https://mlem-nanogpt.fly.dev/ - and start chatting.

Well, I guess if this is what generated docs look like, I still have a job! 🤣
But just for lulz, I re-generated the whole MLEM documentation with this model - you can check it out here.
Conclusion
Nowadays it’s really easy to recreate someone else’s work thanks to open source software. And thanks to folks like Andrej and companies like Modal and Fly now it becomes much faster to build and deploy ML models. We are happy to be part of this, with tools like MLEM, DVC, CML and others. Long live the open source!
